
 |
| Different kinds of eyeliner |
Anyone who’s just starting to wear makeup has this huge hurdle in front of them: how to graduate from “naked” eyes. It’s pretty easy to put mascara on but even that gets boring, eventually. Eye shadow on the other hand, requires a lot more skill and looks too couture without eyeliner. Eye liner gives you a certain sparkle to your eyes so it's definitely worth learning if you want to stop a man in his tracks with just a single look.
 |
| Sayuri is magical. Source here. |
When I started doing eyeliner, my naked-eyed friends would ask me how I did it. I couldn't explain 'cause I basically did just pick up an eyeliner and started doing it. I thought back to the things I wish I knew when I was starting out, and made an "Eyeliner for Dummies" guide. I'm gonna talk about the different kinds with their pros/cons, how to hold an eyeliner and a suggested eyeliner shape for all eye shapes. Read on!
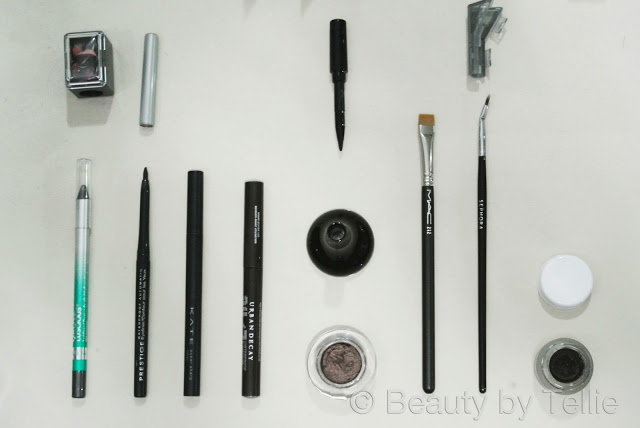
Choose your weapon:
Pencil
There's regular and retractable. They come in different colors although white/silver is often used on the water line (the smooth surface of skin above the lower lashes.) There are chubby kinds but I don't have any of that as I find it too difficult to use.
PROS:
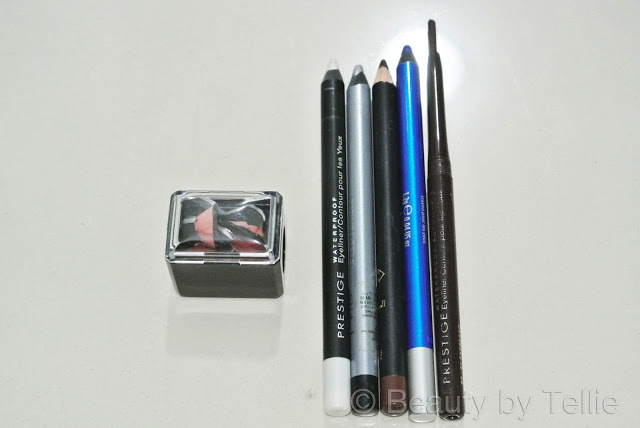 |
| Pencil eyeliners. |
PROS:
- Imperfections aren’t readily noticed.
- Most waterline-friendly.
CONS:
- Pencil is difficult to apply as it requires finesse in making fine or pointy lines.
- It requires a sharpener but if you keep sharpening your pencil, you'll use it up too fast for your money's worth.
- Easily smudged - hassle for people with no double lids.

Gel
Gel liners usually come in pots. Sometimes, a brush is included in the packaging. These are usually as good as full-size brushes because the short length will give you more control and let you get closer to a mirror.
PROS:
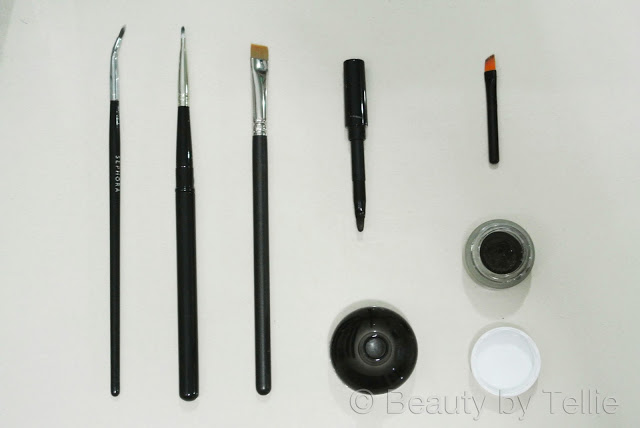 |
| Brushes and Gel liners |
PROS:
- Best staying power especially for those with oily lids.
- Has a very short drying time.
CONS:
- Application is intimidating, to say the least.
- Requires a brush.
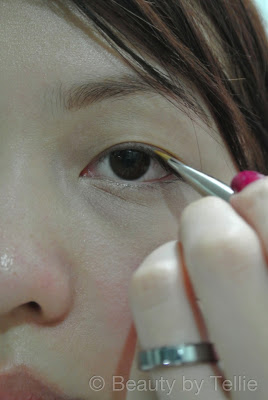
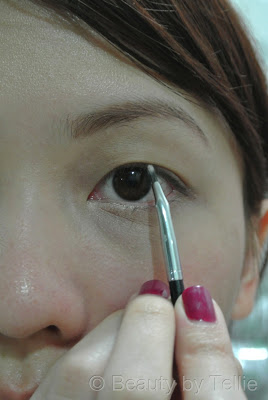
PROTIP: A bent eyeliner brush is a beginner’s best friend. You can get much closer to a mirror as it allows you to draw the line without the brush blocking your view. On the left picture, with a bent brush, my hand is comfortably anchored on my face. On the right, my hand floats awkwardly and the brush itself blocks where my line would be drawn.
LOOK: A little goes a long way. Its highly pigmented and neat look makes for instant drama so unless you’re going for couture, tone it down.
LOOK: A little goes a long way. Its highly pigmented and neat look makes for instant drama so unless you’re going for couture, tone it down.

Liquid (my favorite)
Liquid liners are the most convenient of the bunch as they will always be sold with all the necessary tools for use. There are paint-brush versions and felt-tip versions in varying thicknesses.
PROS:
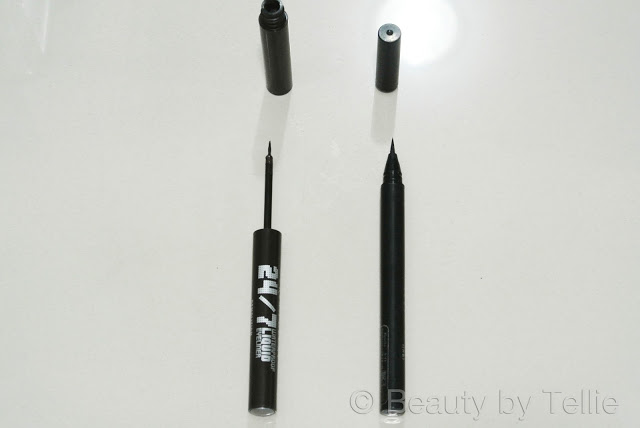 |
| Liquid liners |
PROS:
- Easy application, no other accessory required.
- Felt tip liners are sometimes uncomfortable on the lids as the fibers are glued too firmly. (For this problem, I crush the tip on the lid so it'll give way a little bit.)
CONS:
- Like the gel liner, any error is easily spotted and is thus intimidating.
- Longest drying time required (though it's still not that long, 20 seconds is the most.)
LOOK: Again, like the gel liner, a little goes a long way. Pigmentation is slightly less than gel.

Wield your weapon:
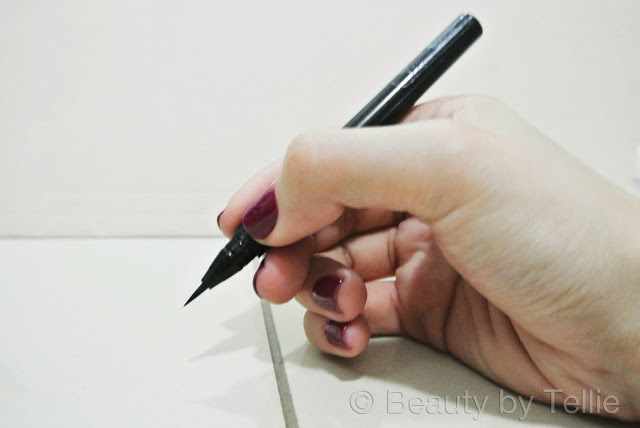
Now let’s address the elephant in the room: how to avoid squiggly lines. Squiggly lines are a result of nerves and an awkward grip. The way to get around this is: hold your pencil/brush like you would an actual pencil/pen.
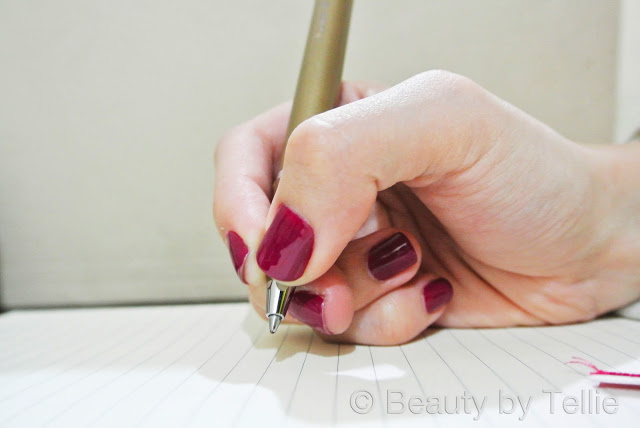 |
| Grip a pen. |
I grip the pen with my thumb and forefinger, resting against my middle finger. These three fingers then rest on my ring and pinky fingers. To be most comfortable, I hold my eyeliner the same way. Doing otherwise would be like trying to write with your non-dominant hand.
 |
| Replace the pen with an eyeliner. |
Think of your eyeliner like a pen and just copy your pen-grip :)
Since my ring and pinky fingers are my "anchors," I rest these on the side of my face to help steady my hand. Think of it like writing on those really tiny university armchairs where you can barely rest the side of your palm.
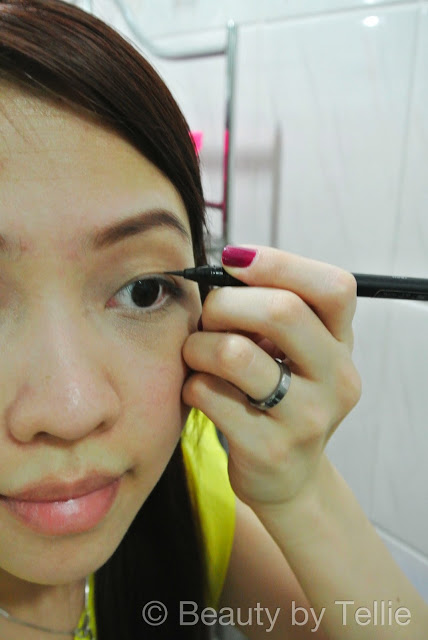
Keep your drawing hand anchored to your face and hold your eyeliner like you would hold a pen, and I guarantee control and precision in your lining.
The "Flare," a Beginner's Go-To Shape:
For beginners, your best bet is to draw a simple, fine line on the lash line, no matter what your eye shape is. As you get more comfortable using eyeliner, gradually try out different shapes until you find what suits you best.
The winged eye is the most popular shape but it looks absolutely redonkulous on noobs so I suggest this instead. It's the shape I used to do before I got enough practice for cat eyes/winged eyes :) I don't know if this has a name but I'll just call it the "flare," as in, it will look like the bottom of your old flared jeans- hello 90's.
I'm using a liquid liner with a felt tip, because it's my favorite. I recommend it over pencil though I did actually start out with a pencil.
I'm using a liquid liner with a felt tip, because it's my favorite. I recommend it over pencil though I did actually start out with a pencil.
Do a simple line on your lash line. Get as close to the hair as possible and don't try to do it in one smooth line. YOU CAN'T. Just fill in the thinnest line you can, using as many strokes as necessary.
It's important to go thin so you'll have room to straighten out your line. If you start thick, you could end up with eyeshadow-eyeliner.
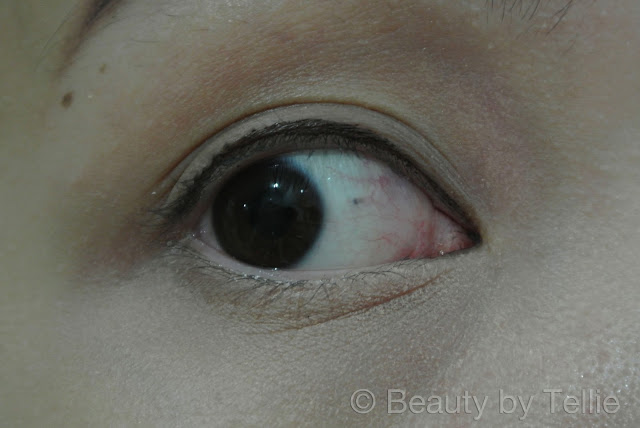
Here's my first stage of eyeliner, very squiggly but at least thin:
It's important to go thin so you'll have room to straighten out your line. If you start thick, you could end up with eyeshadow-eyeliner.
Here's my first stage of eyeliner, very squiggly but at least thin:
 |
| Add caption |
I basically followed my eye up until a couple of millimeters before the corner. I never line there because it easily gets smudged. How? Squint your eyes and check out your crows feet- that's what happens whenever you smile. The skin at the corners of your eyes gets all crumpled up and your eyeliner will rub off on the skin around it.
I first refined the line, giving the same weight all around. This leaves most people looking droopy-eyed so I put a little flare at the end. How much should it flare? Gradually add weight starting from the inner edge of your pupil, where it rests when you're looking forward. I extend the topmost part right to the corner of my eye.
With your eyes half open, the line should appear flat and straight.
Although I said I'd recommend a simple look, I went thicker than I intended because my first line wouldn't show up enough on camera. Nonetheless, here's my very simple, adaptable-to-all-eye-shapes eyeliner shape suggestion :)
With your eyes half open, the line should appear flat and straight.
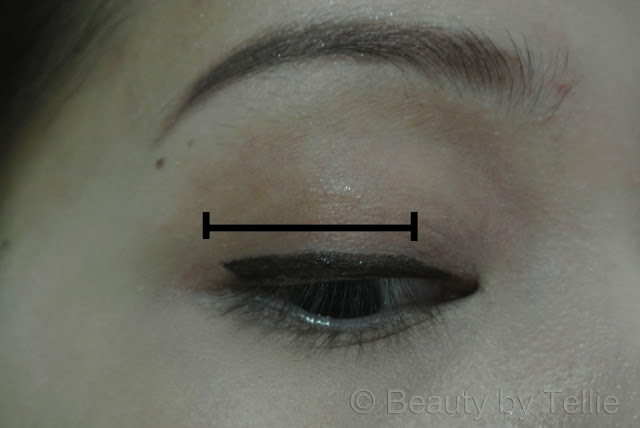 |
| I gradually add weight in the area I've outlined |
I don't recommend you doing your eyeliner with your eyes closed as it's prone to scrunching up and is harder to look at. You'll go cross-eyed trying to do eyeliner but looking from your opposite eye!
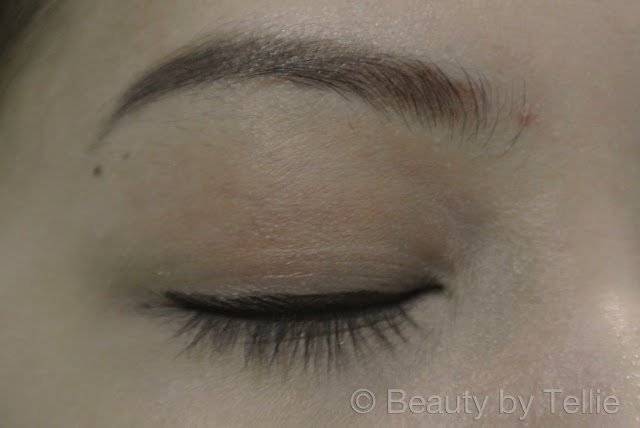 |
| It's harder to judge the shape of a line when you have your eyes closed. |
Although I said I'd recommend a simple look, I went thicker than I intended because my first line wouldn't show up enough on camera. Nonetheless, here's my very simple, adaptable-to-all-eye-shapes eyeliner shape suggestion :)
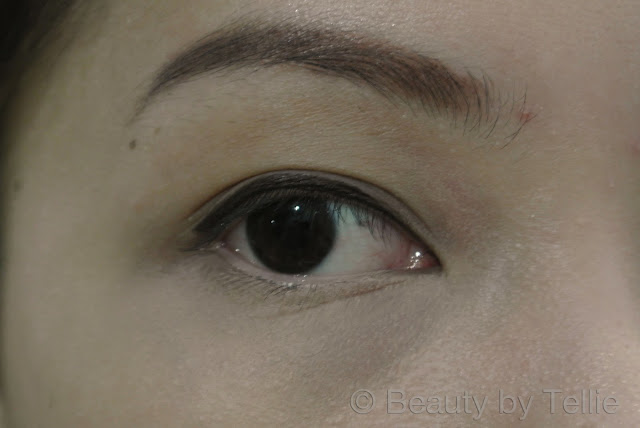 |
| My go-to eyeliner shape :) |
That's it. Have fun lining your eyes :P